The 6th of October was national badger day and it was great to see so many wonderful badger pictures all over the internet.
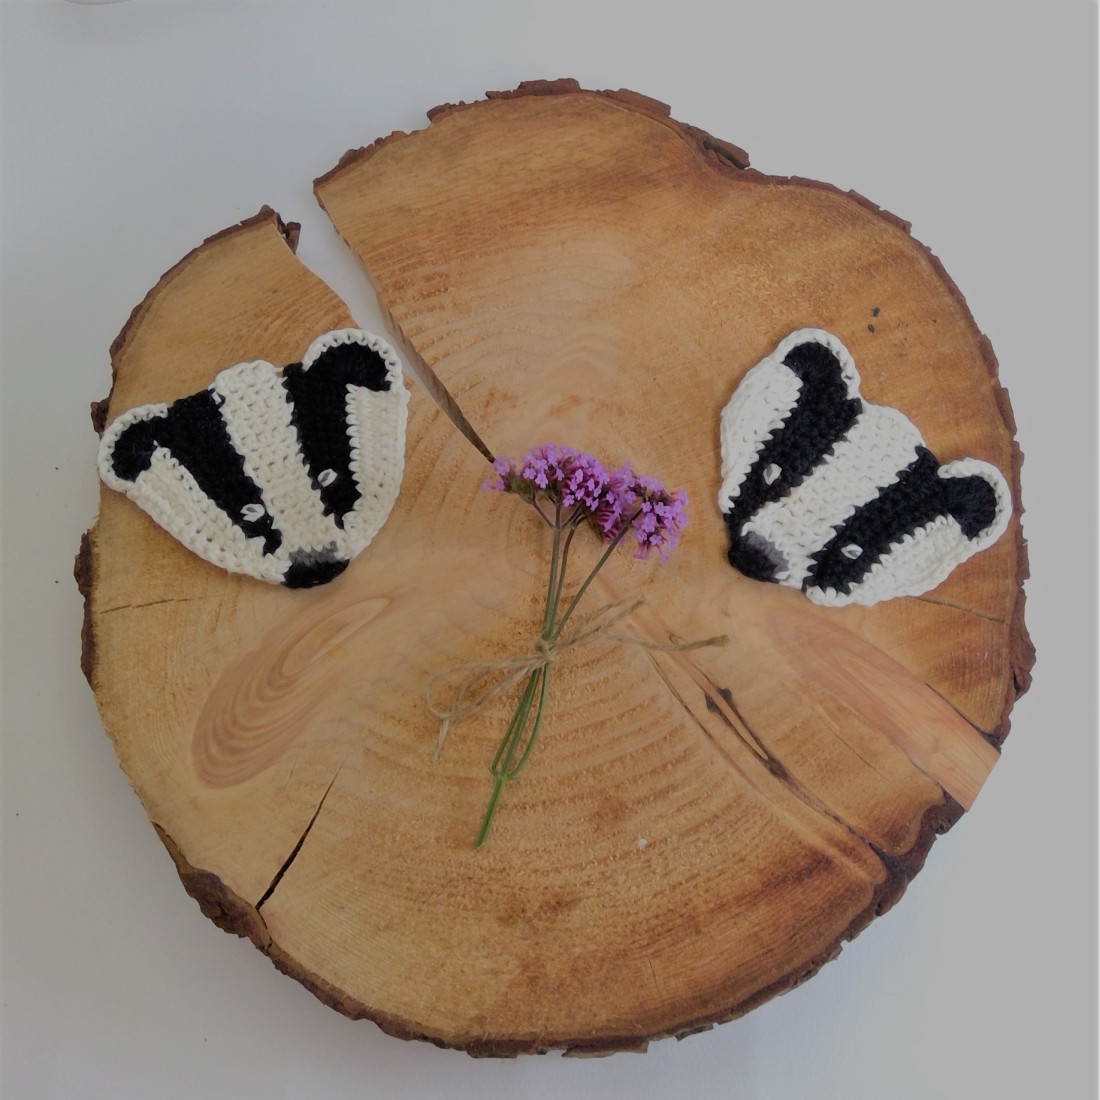
I love badgers! To me they represent kindness and wisdom as well as strength and loyalty. I have designed this sweet little badger patch to celebrate national badger day. You could add your little badger friend onto a blanket, cushion or pencil case. I’m going to turn my mini cette of two into some elbow patches.
I hope you enjoy using this pattern. If you do please consider taking a look at the wildlife trust’s suggestions on how you can be an advocate for badgers in ending the badger cull.
Badger Patch Pattern
Yarn
Small amounts of DK yarn in grey, white and black (I used DK cotton but you could use whatever you have in your stash)
Hook
3.5 mm (use a hook size slightly smaller than recommended for your yarn to give you a firm-ish patch)
Tension
Not essential for this project
Abbreviations
UK terms used throughout
st(s) stitch(es)
ch chain
dc double crochet
ht half treble
tr treble
ltr linked treble (if this is a new one on you, I have made a handy photo tutorial to help you)
Notes:
You can change the size of your badger by using a different yarn weight or hook size.
I found it helpful to weave in all ends as I went along so I could see what I was doing more clearly.
Pattern
Nose
Using black yarn ch 4
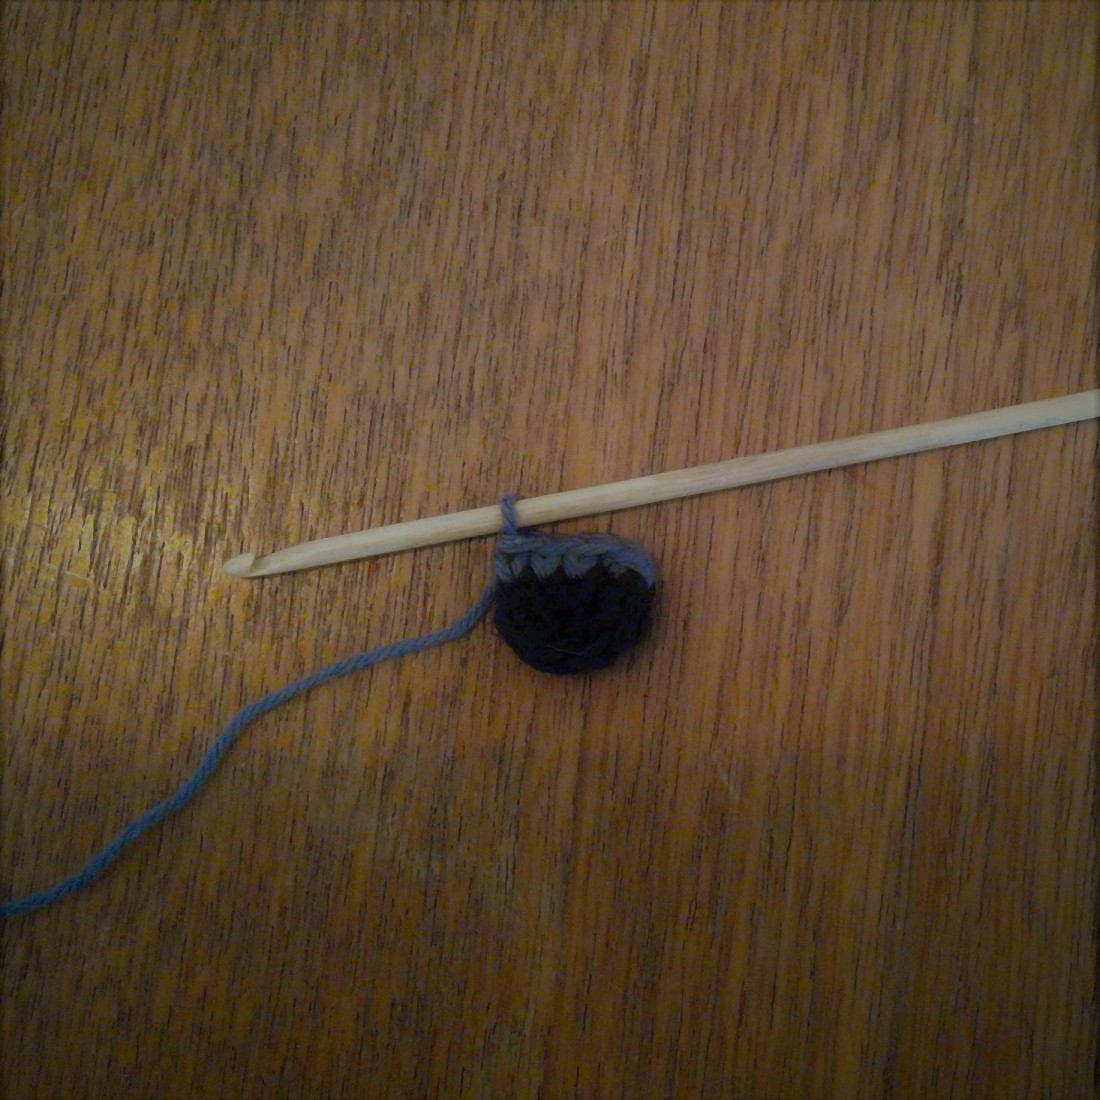
Round 1: dc in 2nd ch from hook, dc, 3dc in last ch, rotate ch so you are now working into the bottom of ch, dc, 2dc in last ch. Do not turn (8 sts).
Row 2: Switch to grey yarn. Ch1, dc into next st, dc 3. You should have a black oval with a grey row on top a bit like this.
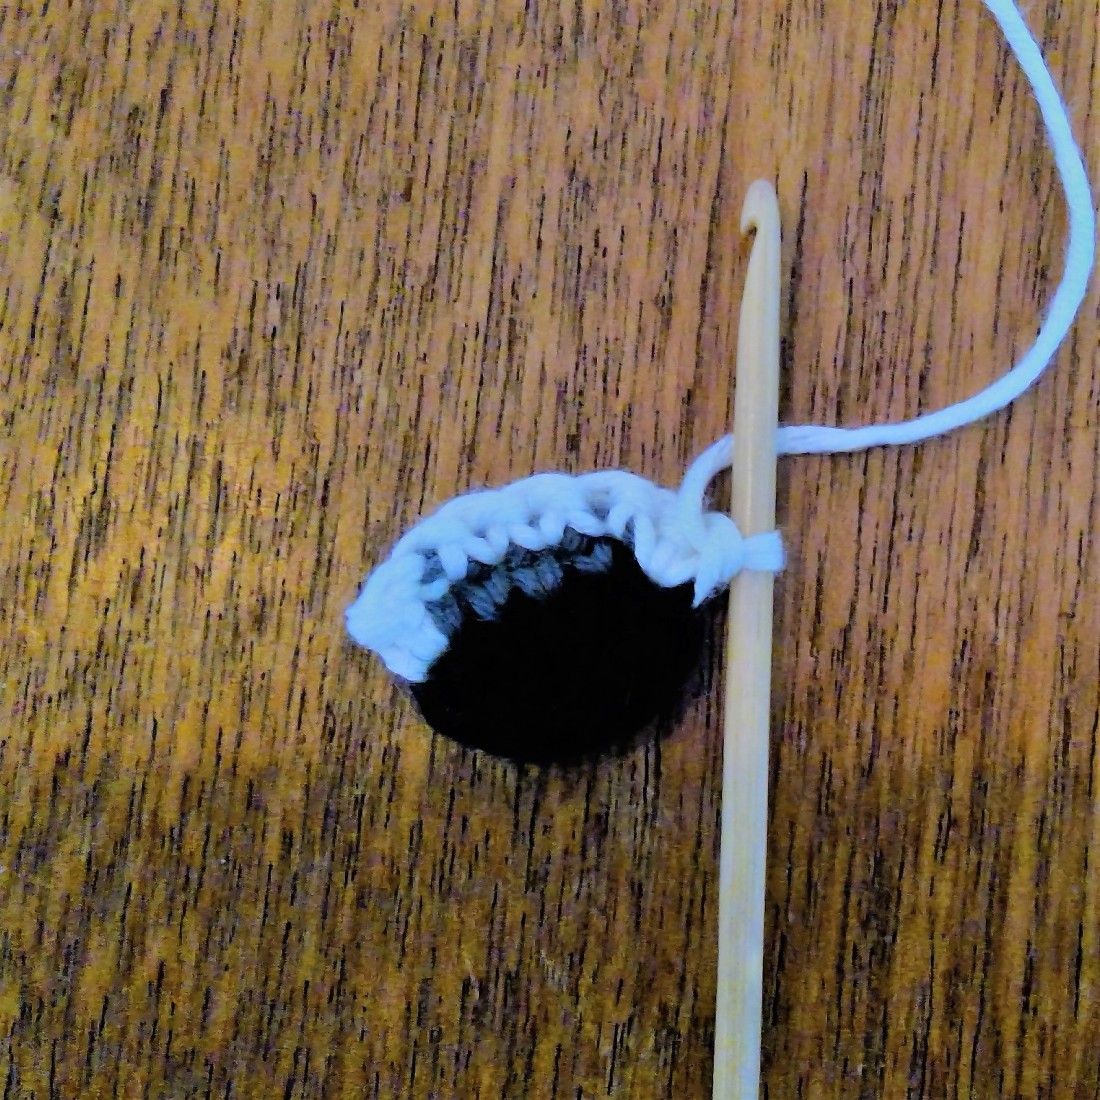
On the same row switch to white yarn, 2dc into next st. Do not ch, turn.
Row 3: skip 1st st, ss, dc 4, 2dc into next st. Do not ch, turn.
Your badger’s nose should now look a bit like this.
Row 4: skip 1st st, ss, ht 4, ss. Do not ch, turn.
Row 5: skip 1st st, ht 4, ss. Ch1, turn.
Row 6: ht 4. Ch, turn.
These 4 sts make up you badger’s muzzle.
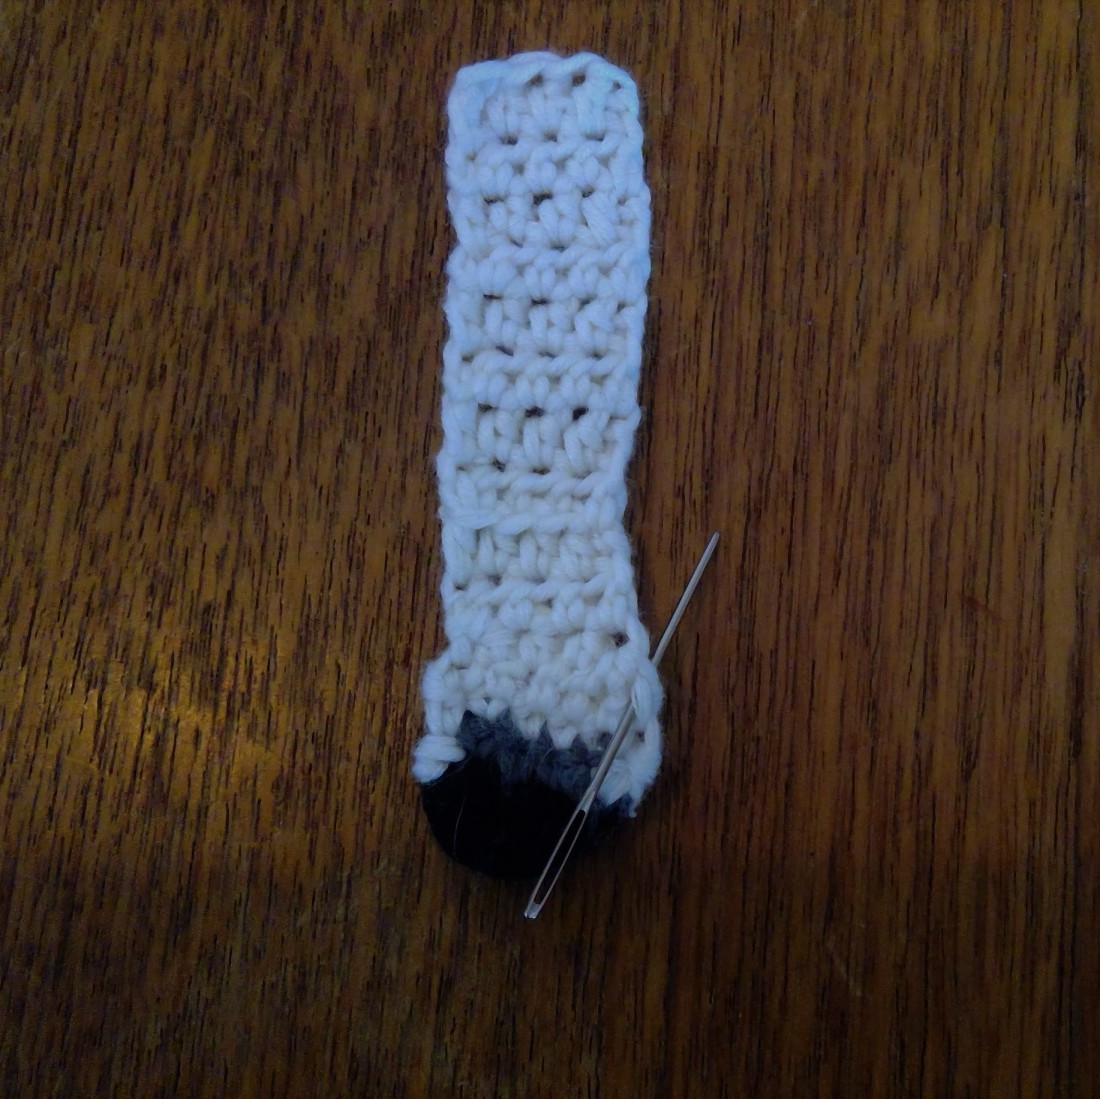
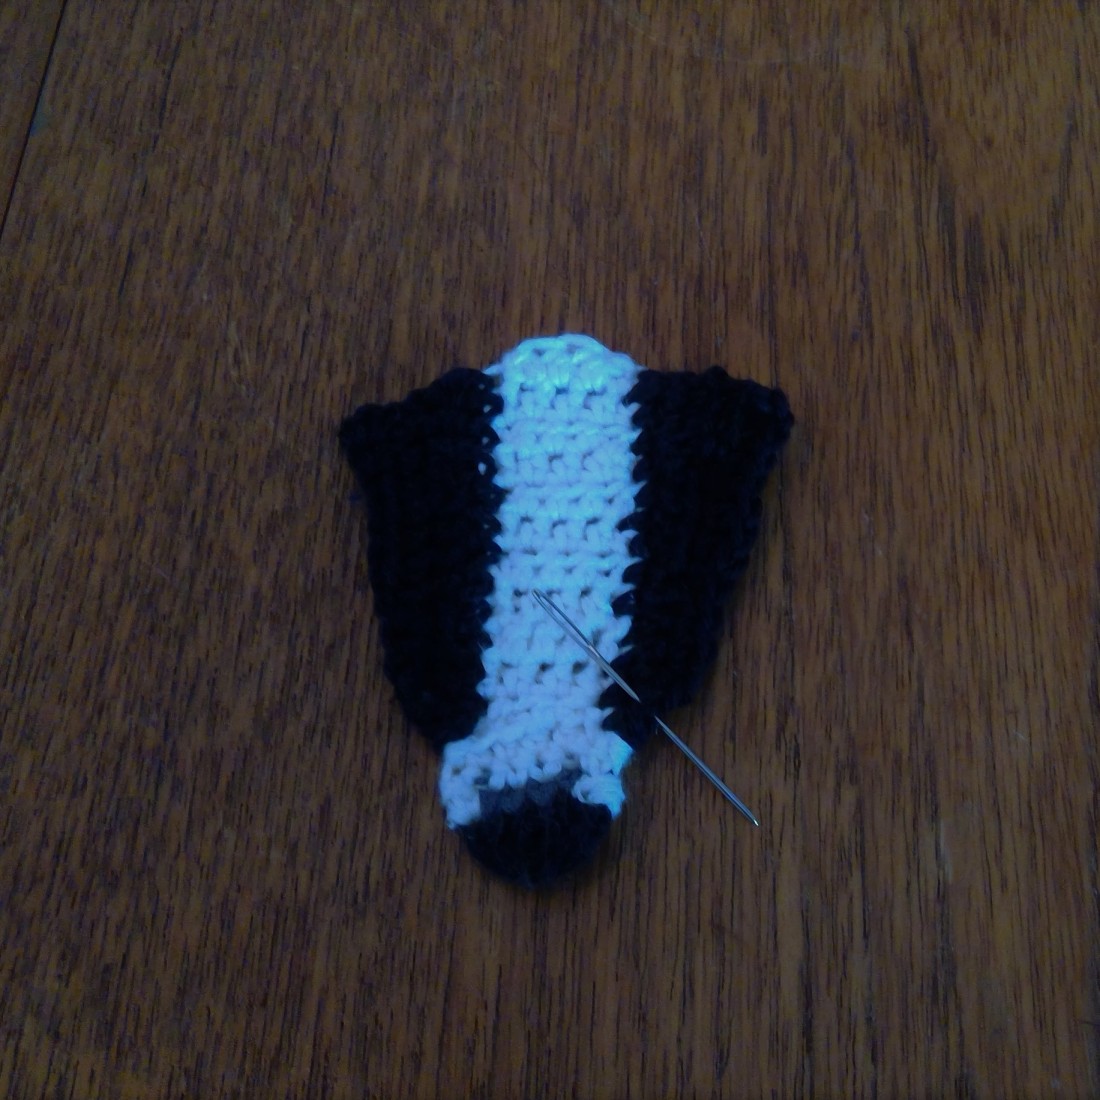
Continue in rows of ht for a further 8 rows. Break yarn and fasten off.
You should now have something that looks like this.

I know it doesn’t look too much like a badger yet – but it is about to get some badger stripes!
Black Stripes
Switch to black yarn and join at the widest point of the badger’s muzzle (use photo below as a guide).
Row 1: dc 13 along selvedge edge of muzzle, ending just below the top of your badger’s head. Ch 3 (counts as stitch), turn.
Row 2: ltr 3 ht 4, dc 4 ss. Do not chain, turn.
Row 3: skip 1st st, dc 4, ht 4, ltr3. Break yarn and fasten off.
Now we are going to do the same on the other side. Turn your work over so the stripe you have already done is now on the left and join your yarn to make the second black stripe. When you are finished, it should be starting to look a bit more badgerish!
White Stripe
Using the photo as a guide, join white yarn onto black stripe just above the beginning of the row
Row 1: dc 12 ending just below the badgers head. Ch 3, turn
Row 2: ltr 5, ht 3, dc 3, dc into black stripe below, ss into white muzzle. Do not chain, turn.

Row 3: skip 1st st, dc 12 (the first dc will be into the stitch you made into the black stripe on the previous row). Break yarn and fasten off.
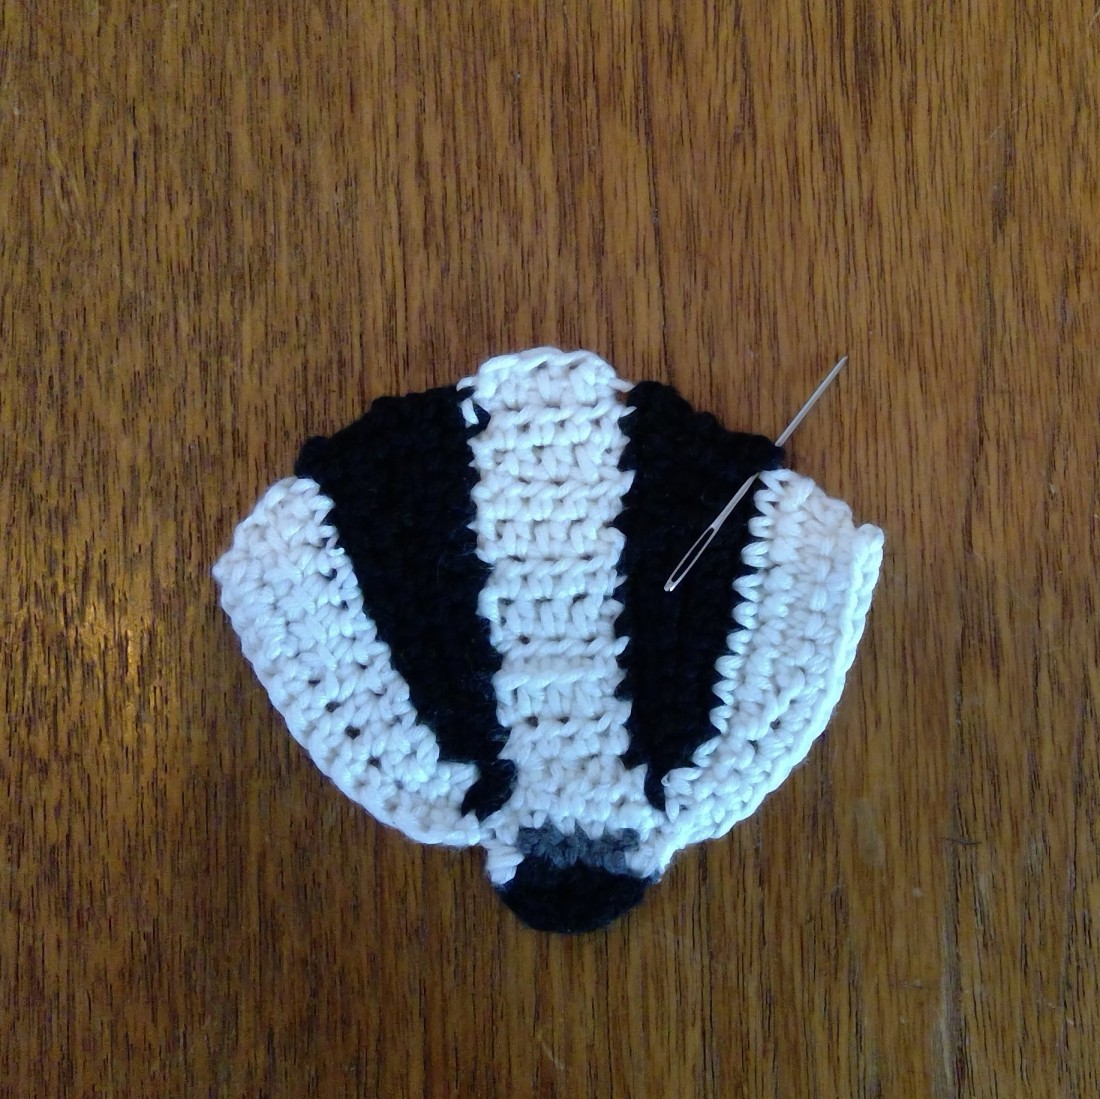
Now flip your work and repeat on the other side.
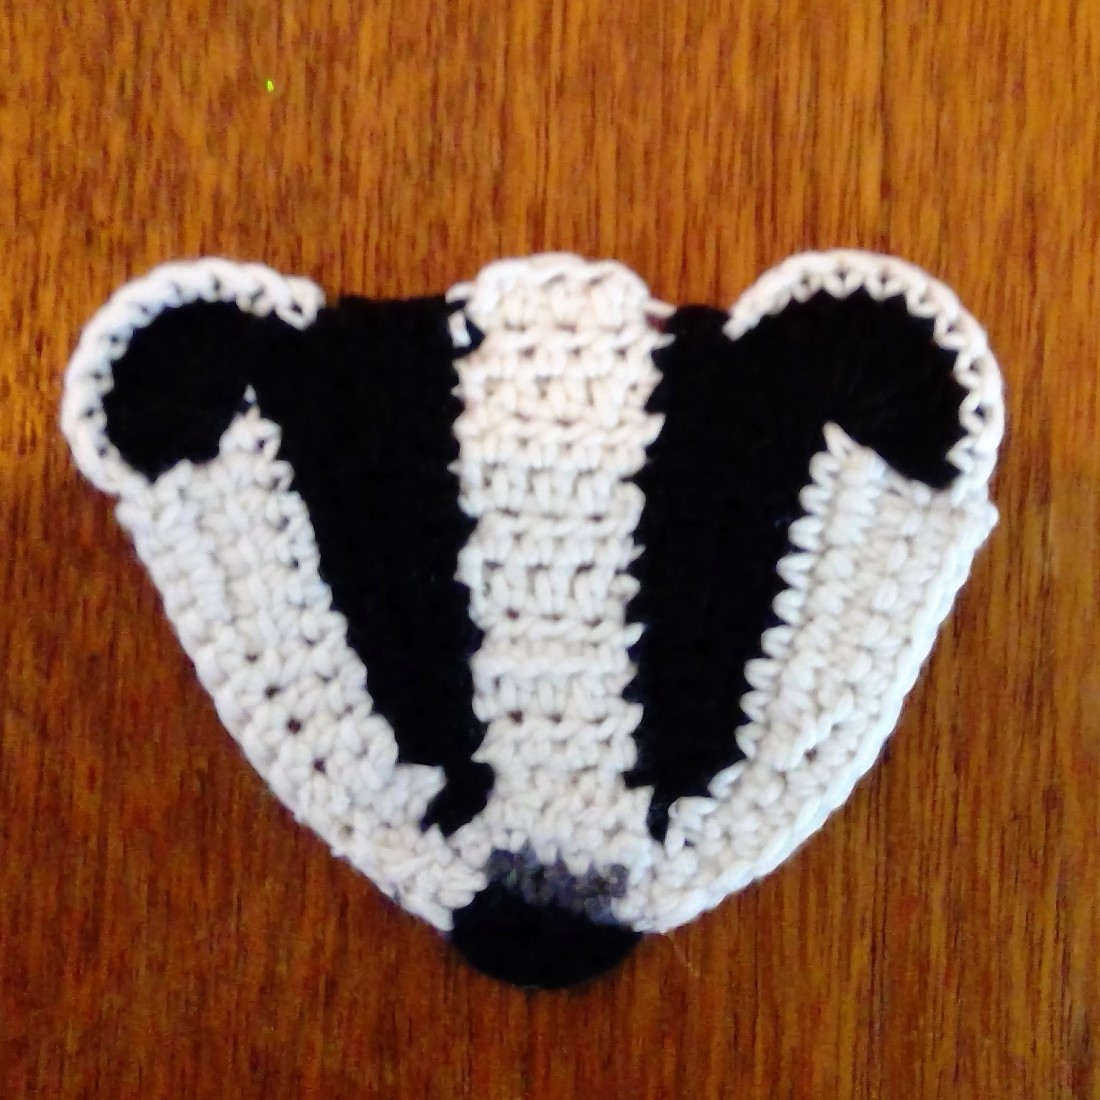
Do they look like a badger yet?
Ears
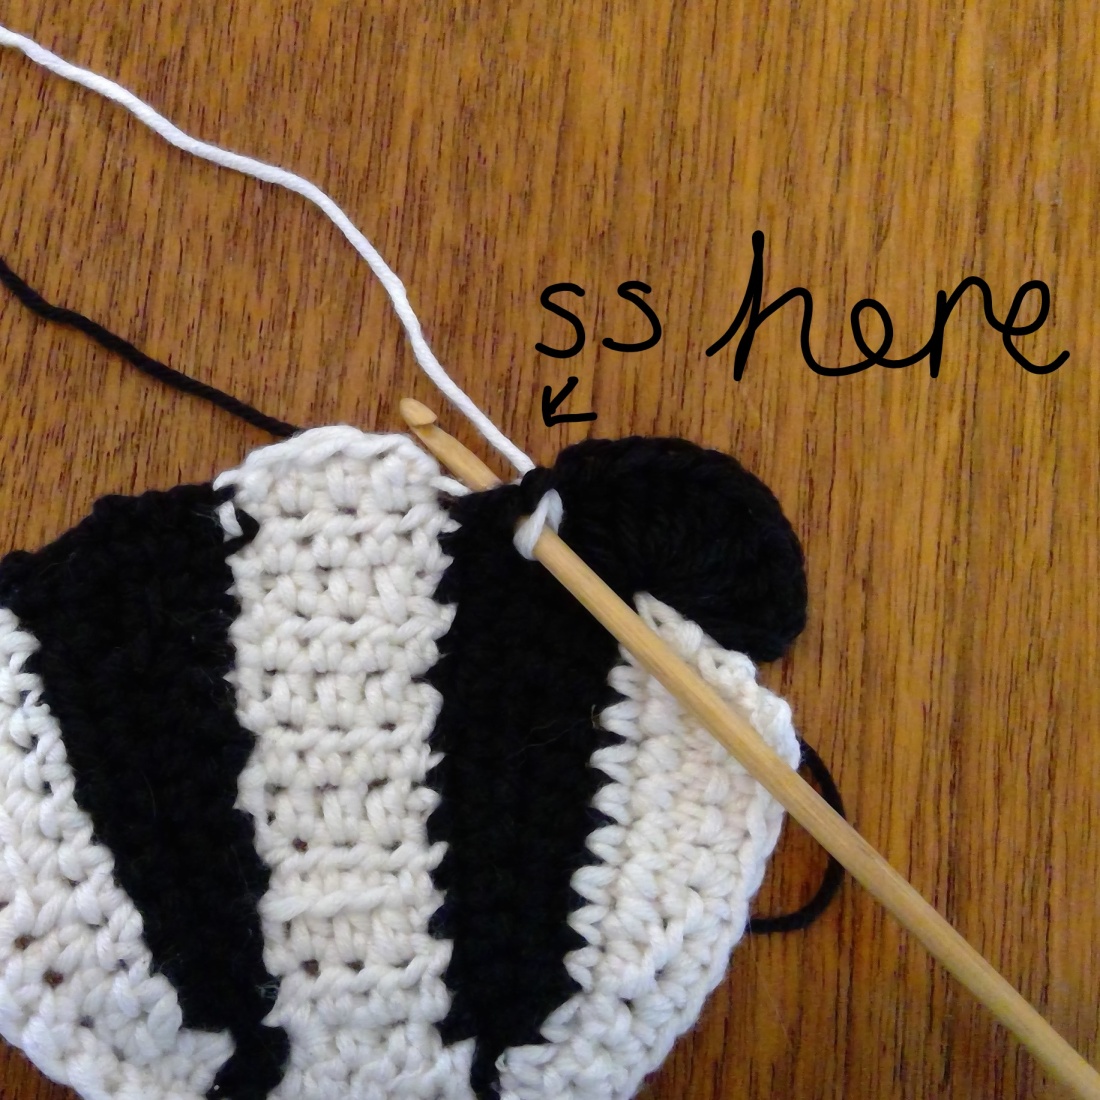
Next we need some ears. Decide which side of your work you would like to be the right side and turn it so that the RS is facing. Using the photo as a guide, join black yarn between the black and white stripes.
Ch3, tr 9 into point where you joined yarn. Switch to white yarn. Join ear to head by ss where ear meets head.
Ch 1, turn
dc to end of ear, then ss to attach ear to head on other side. Break yarn and fasten off.
Now do exactly the same thing for the other ear. Tada! Your badger is nearly complete!
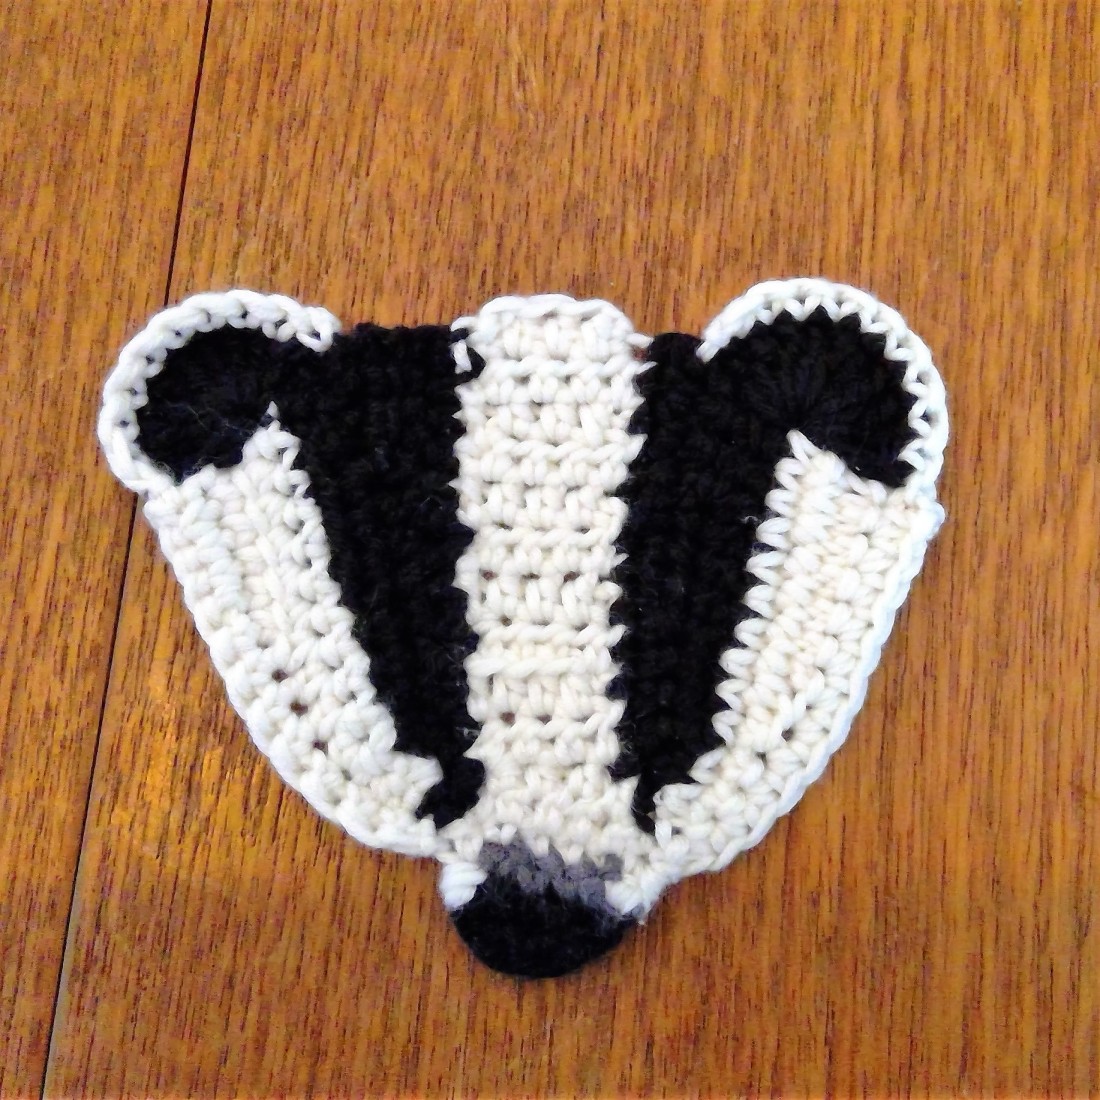
Now is the point where you might want to make any tweaks to how your badger looks. I wasn’t totally happy with how the white stripe on the left was sitting near the badgers nose. I think I slightly misjudged where to make a ss. But never fear! If you have any little things you aren’t happy with then you can do what I did. I threaded some white yarn and just did a small spot of darning between the stripe and the nose. When I finished my badger looked like this.
Eyes
Now it is time to give your new friend some character. I always think that any little crafted animal really comes to life when you add the eyes – it’s as if they magically transform into something with a life of their own. This is why I usually like to add the eyes last because it makes me feel a bit uncomfortable to stick pins and needles into something that suddenly feels alive.
Depending on what you want to use your patch for, you may want to do for beads, buttons, safety eyes of googly eyes. They are so adorable!
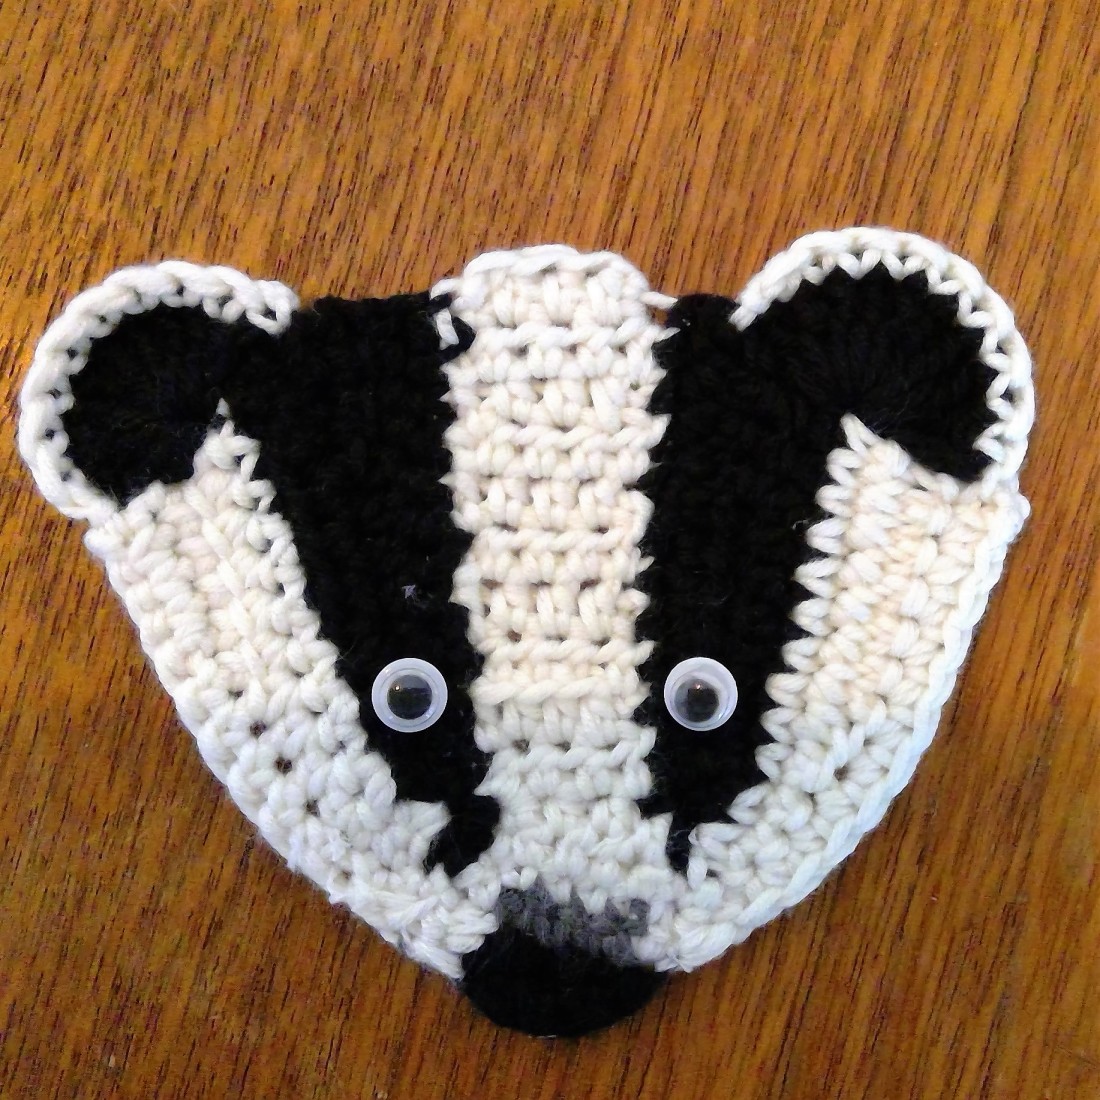
As I’m planning to use my badgers as elbow patches, I thought sew on eyes might not be the best choice so I went for embroidered eyes. (I’m planning on making a googly eyed badger for a little needle book cover soon though).
I embroidered a few strands of white and then one of grey on top for the pupil. I think these two look sweet and sleepy. I also wanted each one to have their own character so on the right hand badger, I embroidered some more black yarn to bring the stripe all the way down his face.
I hope you have as much fun making these little badger friends as I did designing them. I am still quite new to pattern writing so if I have made any mistakes or anything is unclear, please contact me at hello@badgerandbramble.com
Happy badger crocheting!
